HTML / CSS / JS
ビジュアル
![]() 2026/05/14
2026/05/14
![]() 2026/5/10
2026/5/10
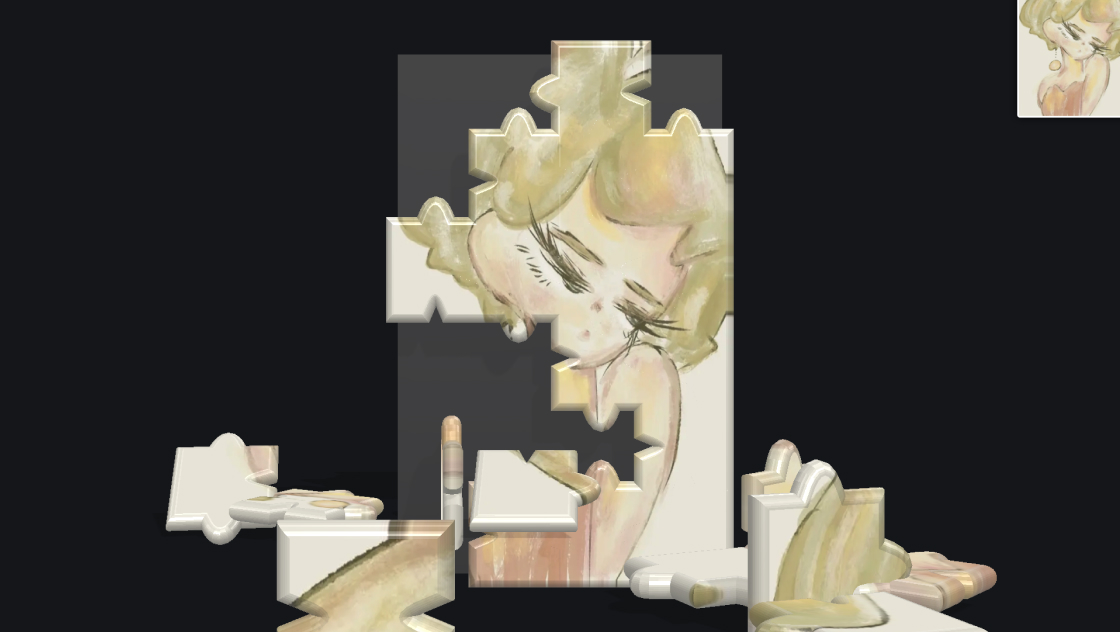
写真やイラストをWebサイトにただ貼るだけでは物足りない、もっと印象的に見せたい――そんなときに使えるのが、この3Dレリーフエフェクトです。
Three.jsとGLSLシェーダーを使い、画像の明暗差から擬似的な法線を計算することで、まるで金属板に彫り込んだレリーフのような立体感を生み出します。
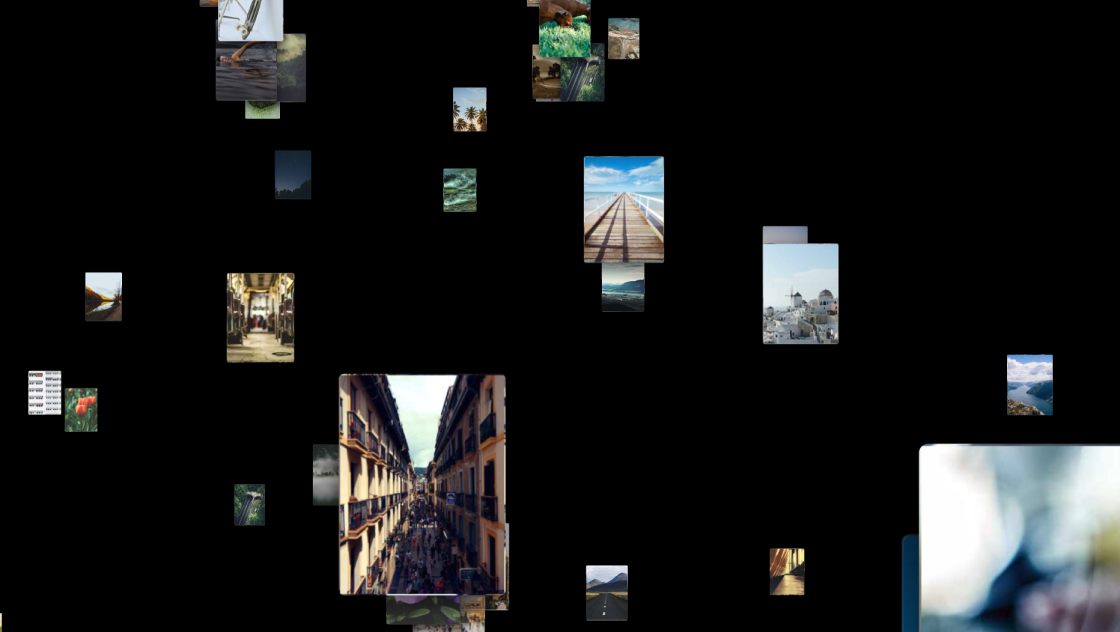
マウスを動かすと光源の位置がリアルタイムに変化し、陰影が動的に変わるのが最大の特徴です。自分の画像をアップロードして試すこともでき、OrbitControlsで回転やズームも可能です。
<div id="kumonosu-viewport">
	<label for="kumonosu-photoUpload" class="kumonosu-upload-btn">UPLOAD</label>
	<input type="file" id="kumonosu-photoUpload" accept="image/jpeg, image/png, image/jpg">
</div>#kumonosu-viewport {
width: 100vw;
height: 100vh;
overflow: hidden;
background: #050510;
position: relative;
display: flex;
align-items: center;
justify-content: center;
}
.kumonosu-upload-btn {
position: absolute;
top: 20px;
right: 20px;
background: rgba(0, 0, 0, 0.9);
backdrop-filter: blur(8px);
padding: 8px 14px;
border-radius: 30px;
color: tomato;
font-size: 0.7rem;
font-family: monospace;
cursor: pointer;
z-index: 30;
transition: all 0.2s ease;
border: 1px solid rgba(255, 99, 71, 0.3);
pointer-events: auto;
}
.kumonosu-upload-btn:hover {
background: rgba(40, 20, 10, 0.7);
border-color: tomato;
}
#kumonosu-photoUpload {
display: none;
}// esm.sh を使うことで、依存関係のエラー(Failed to resolve)を自動で解決します
import * as THREE from "https://esm.sh/three@0.128.0";
import {
OrbitControls
} from "https://esm.sh/three@0.128.0/examples/jsm/controls/OrbitControls.js";
const container = document.getElementById('kumonosu-viewport');
const refHeight = 1.2;
let reliefMaterial = null;
let imagePlane = null;
const mouseLightDir = new THREE.Vector2(0.5, 0.5);
const scene = new THREE.Scene();
scene.background = new THREE.Color(0x080818);
const camera = new THREE.PerspectiveCamera(45, window.innerWidth / window.innerHeight, 0.1, 1000);
camera.position.set(0, 0, 3.0);
const renderer = new THREE.WebGLRenderer({
antialias: true
});
renderer.setSize(window.innerWidth, window.innerHeight);
renderer.setPixelRatio(Math.min(window.devicePixelRatio, 2));
container.appendChild(renderer.domElement);
const controls = new OrbitControls(camera, renderer.domElement);
controls.enableDamping = true;
controls.enablePan = false;
const vertexShader = `
varying vec2 vUv;
void main() {
vUv = uv;
gl_Position = projectionMatrix * modelViewMatrix * vec4(position, 1.0);
}
`;
const fragmentShader = `
uniform sampler2D uTexture;
uniform vec2 uLightDir;
varying vec2 vUv;
float getLum(vec3 c) { return dot(c, vec3(0.299, 0.587, 0.114)); }
void main() {
vec2 uv = vUv;
vec4 tex = texture2D(uTexture, uv);
float o = 0.007;
float lumR = getLum(texture2D(uTexture, uv + vec2(o, 0.0)).rgb);
float lumL = getLum(texture2D(uTexture, uv - vec2(o, 0.0)).rgb);
float lumU = getLum(texture2D(uTexture, uv + vec2(0.0, o)).rgb);
float lumD = getLum(texture2D(uTexture, uv - vec2(0.0, o)).rgb);
vec3 n = normalize(vec3(lumR - lumL, lumU - lumD, 1.0));
vec3 l = normalize(vec3(uLightDir.x, uLightDir.y, 1.0));
float d = max(0.2, dot(n, l));
vec3 col = ((tex.rgb - 0.5) * 1.15 + 0.5) * (d + 0.3);
if (!gl_FrontFacing) col = mix(col, vec3(1.0), 0.6);
gl_FragColor = vec4(col * (1.0 - length(uv - 0.5) * 0.25), 1.0);
}
`;
function fitCamera() {
if (!imagePlane) return;
const {
width,
height
} = imagePlane.geometry.parameters;
const dist = (window.innerWidth / window.innerHeight >= width / height) ? (height / 2) / Math.tan((camera.fov * Math.PI / 180) / 2) : (width / (window.innerWidth / window.innerHeight) / 2) / Math.tan((camera.fov * Math.PI / 180) / 2);
camera.position.z = dist * 1.5;
controls.update();
}
function updatePlane(img) {
const canvas = document.createElement('canvas');
canvas.width = img.width;
canvas.height = img.height;
canvas.getContext('2d').drawImage(img, 0, 0);
const tex = new THREE.CanvasTexture(canvas);
const mat = new THREE.ShaderMaterial({
uniforms: {
uTexture: {
value: tex
},
uLightDir: {
value: mouseLightDir
}
},
vertexShader,
fragmentShader,
side: THREE.DoubleSide
});
if (imagePlane) {
scene.remove(imagePlane);
imagePlane.geometry.dispose();
imagePlane.material.dispose();
}
imagePlane = new THREE.Mesh(new THREE.PlaneGeometry(refHeight * (img.width / img.height), refHeight, 64, 64), mat);
scene.add(imagePlane);
reliefMaterial = mat;
fitCamera();
}
window.addEventListener('mousemove', (e) => {
mouseLightDir.set((e.clientX / window.innerWidth) * 2 - 1, -(e.clientY / window.innerHeight) * 2 + 1).multiplyScalar(1.2);
});
window.addEventListener('resize', () => {
camera.aspect = window.innerWidth / window.innerHeight;
camera.updateProjectionMatrix();
renderer.setSize(window.innerWidth, window.innerHeight);
fitCamera();
});
document.getElementById('kumonosu-photoUpload').addEventListener('change', (e) => {
const file = e.target.files[0];
if (!file) return;
const reader = new FileReader();
reader.onload = (ev) => {
const img = new Image();
img.onload = () => updatePlane(img);
img.src = ev.target.result;
};
reader.readAsDataURL(file);
});
const defImg = new Image();
defImg.crossOrigin = "Anonymous";
defImg.onload = () => updatePlane(defImg);
// file:/// で実行する場合、外部URLの画像がセキュリティで弾かれることがあります
defImg.src = 'https://images.unsplash.com/photo-1464822759023-fed622ff2c3b?w=800&q=80';
function animate() {
controls.update();
renderer.render(scene, camera);
requestAnimationFrame(animate);
}
animate();このエフェクトは、平面の画像に対してフラグメントシェーダー内で輝度ベースの法線マッピングを行い、動的なライティングで立体的なレリーフ表現を実現します。
主な機能は以下のとおりです。
img.srcのURLを差し替えれば、初期表示される画像を変更できます。offset(デフォルト0.008)を大きくすると凹凸が強調され、小さくすると滑らかになります。pow(..., 32.0) * 0.4の32.0(シャープさ)と0.4(強度)を調整すると、光沢感を変えられます。vec3(0.12, 0.06, 0.02)の値を変えると、ライティングの色味を寒色系やニュートラルに変更できます。contrast変数(デフォルト1.15)を変更すれば、画像全体の明暗差を調整できます。length(uv - 0.5) * 0.25の0.25を大きくすると周辺減光が強くなり、小さくすると均一な明るさに近づきます。#kumonosu-viewportのbackgroundやThree.jsのscene.backgroundを変更すれば、背景色を変えられます。refHeight(デフォルト1.2)を変更すると、3D空間上での画像の表示サイズが変わります。unpkg.com経由でThree.js v0.128.0とOrbitControlsをimportmapで読み込んでいます。本番環境ではバージョン固定やローカルホスティングを推奨します。crossOrigin = "Anonymous"で読み込んでいます。CORS非対応のサーバーの画像を指定するとテクスチャ生成に失敗します。ユーザーがアップロードした画像はローカル読み込みのため、CORSの問題は発生しません。side: THREE.DoubleSideを設定しているため、OrbitControlsで裏側に回ると画像の裏面も表示されます。裏面は白っぽくブレンドされるよう処理されています。touchmoveイベントでの光源更新を追加してください。devicePixelRatioが高い端末ではピクセル数に応じた負荷がかかります。